

前言
上一期我们简单的使用了StateDrivenCamera相机,这次我们来使用一下ClearShot
使用ClearShot完成根据模型位置自动切换不同的相机
1. 创建一个游戏物体
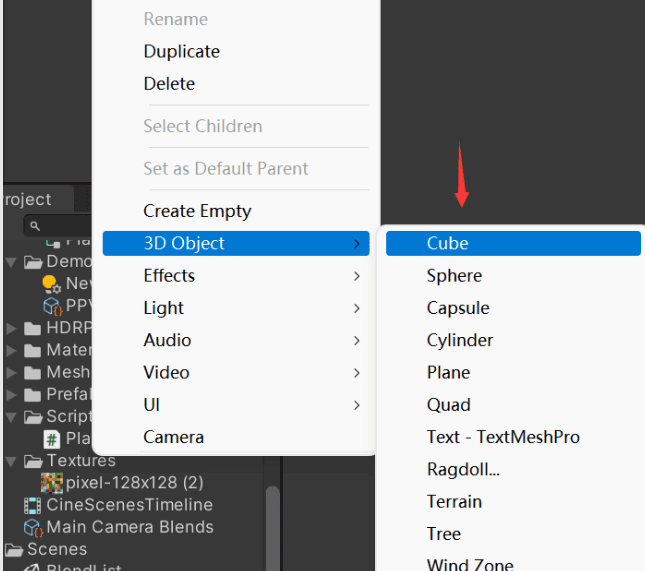
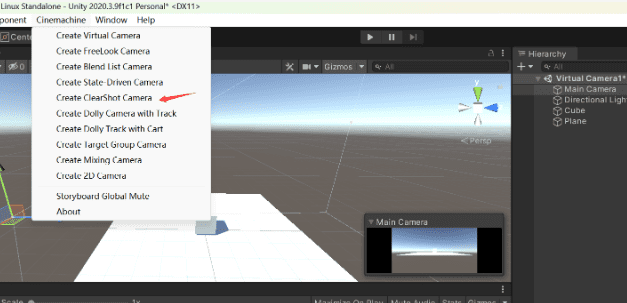
2. 创建ClearShot相机
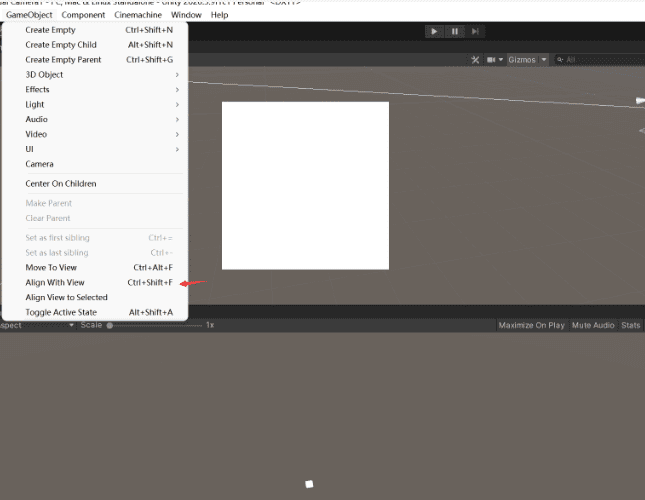
游戏物体比较远不方便调试

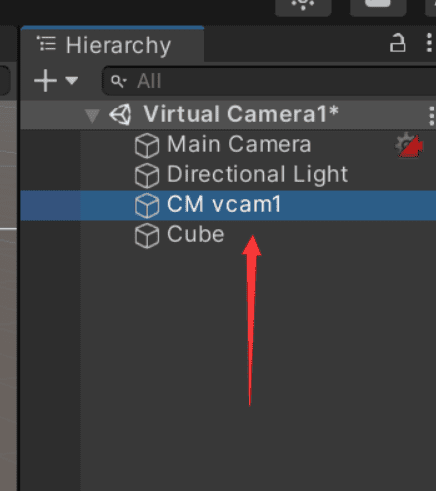
选中Virtual Camera相机
使用快捷键聚焦到游戏物体
3. 设置相机和层级
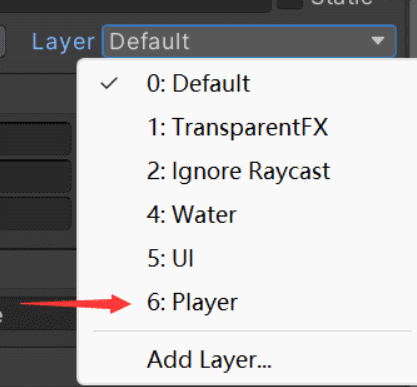
给cube设置一个player层级
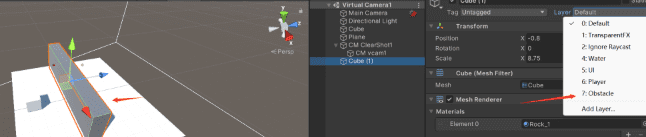
创建一个障碍物并把他的层级设置成Obstacle
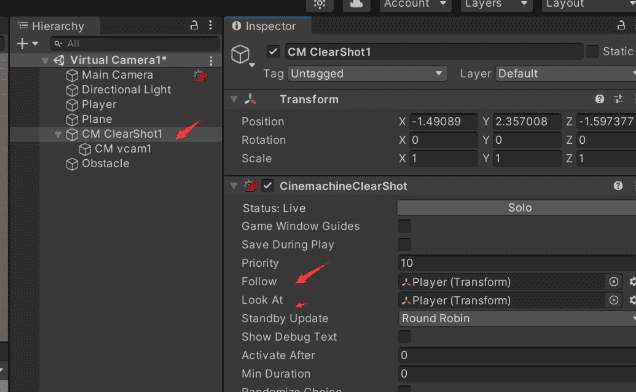
点击CM ClearShot1设置Follow和LookAt属性
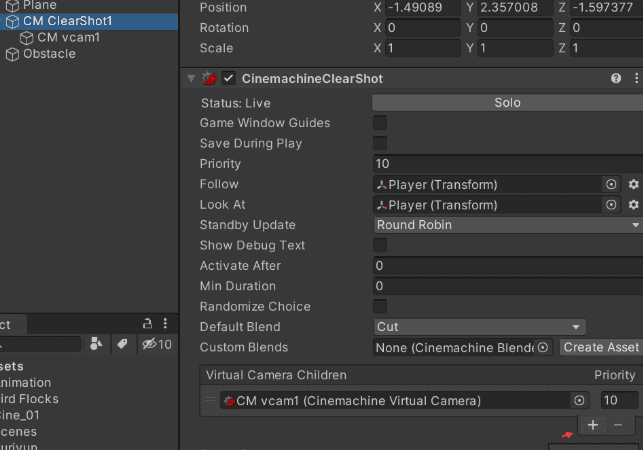
点击+添加一个新的相机
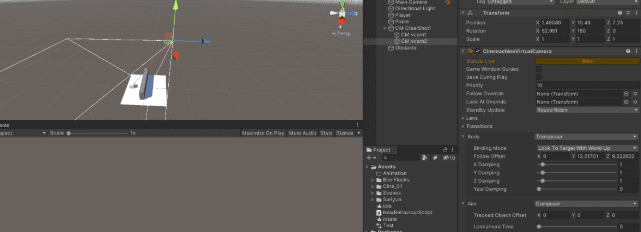
设置2个相机的视角,本文选择一个平行,一个垂直视角
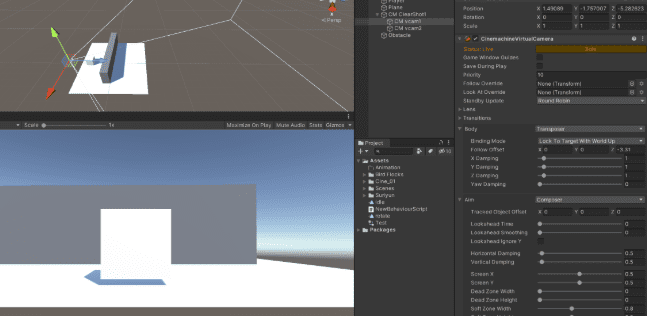
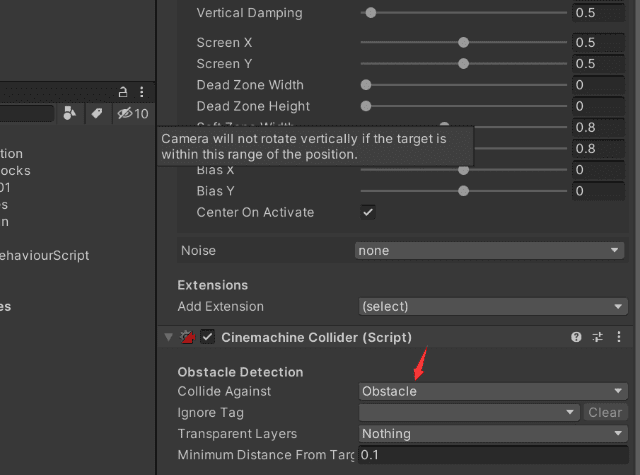
并把2个相机的Collide Against设置成Obstacle
4. 完成
© 版权声明
THE END


暂无评论内容